
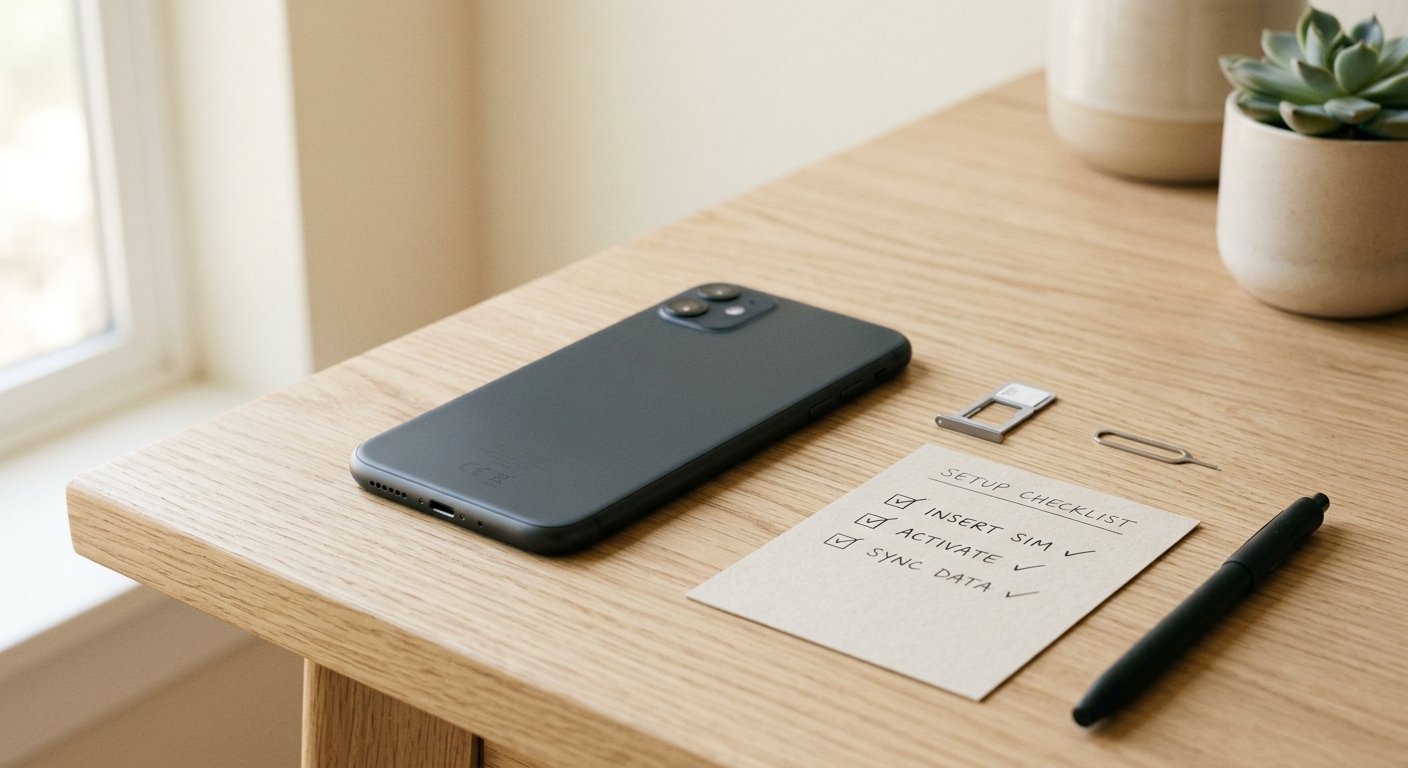
How Can I Activate My New iPhone? Complete Setup, Troubleshooting & Confirmation Guide (2026)
Quick Answer How to Activate a New iPhone
I turn the phone on, connect it to Wi-Fi or a cellular network, and sign in with my Apple Account. That’s the whole activation in one line. Everything else, Quick Start, eSIM setup, Face ID, is really just the setup process wrapped around that one core step. Apple’s servers usually confirm activation within two or three minutes once the phone has a working connection.
Before You Begin: What You Need Before Activation
Apple Account, Charge Level & Network Requirements
I’ve set up enough iPhones for family and friends to know exactly where people get stuck. It’s rarely the activation itself. It’s what they forgot to check before they started.
Charge the phone to at least 20 percent before you touch the power button. I like 50 percent if there’s a data restore coming, since a low battery mid transfer is its own kind of headache. You’ll also need your Apple Account ready, or at least be willing to make one on the spot. There’s no getting into iCloud, the App Store, or full activation without it.
And you need a connection. Wi-Fi or cellular, either works, but one of them has to be live. Apple has to reach its own servers to confirm the device is really yours, and that check simply can’t happen offline.
Physical SIM or eSIM? Check Your Model First
Here’s something I see trip people up more than anything else lately. Physical SIM trays are disappearing fast, and not everyone knows it before they open the box.
Every iPhone sold in the US since the iPhone 14 has shipped eSIM only. No tray, no plastic card, nothing to pop out with a paperclip. And with the iPhone 17 lineup, that same eSIM only rule now covers Canada, Japan, Mexico, and several countries in the Gulf too. The iPhone 17 Air goes further still. It drops the SIM tray everywhere, in every region Apple sells it, which is the first time that’s happened for any iPhone model.
If you’re moving service from an older phone with a physical SIM, check your new model’s specs before you go hunting for a SIM tool you won’t need. And if you’re on an eSIM-only model and want the full breakdown of every activation method, QR code, manual entry, carrier app, Quick Transfer, FutureTechTips covers all five eSIM activation paths in detail.
Can I Activate My New iPhone Without an Apple ID?
Not fully, no. You can get through the basic setup screens without signing in, but real activation, the kind that links iCloud, the App Store, and your carrier properly, needs an Apple Account attached. The good news is you don’t need one in advance. Setup will let you create one right there if you don’t already have it.
Quick Start vs Manual Setup vs Restore: Which Method Should You Use?
Most people don’t actually need help deciding between Quick Start, manual setup, and restoring from iCloud. They need someone to tell them plainly which one fits their situation. So here’s how I’d break it down.
Setting Up New iPhone From Old iPhone
If your old iPhone is nearby, charged, and unlocked, Quick Start is almost always the better choice. Hold the two devices close together, follow the animation on screen, and they pair automatically. From there your settings, apps, and most of your content move over wirelessly without you typing a single password twice.
It’s smooth when the conditions are right. It’s frustrating when they’re not, which is exactly why I tell people to confirm the old phone is genuinely ready before committing to this path. Quick Start also moves your phone number over automatically in most cases, though if yours doesn’t come through cleanly, I’ve covered that separately in how to transfer your phone number to a new iPhone.
Setting Up New iPhone From Android
Coming from Android is a different process entirely, and it runs through Apple’s Move to iOS app rather than Quick Start. You install the app on your Android device, keep that device powered on and nearby, and the transfer happens over Wi-Fi during setup.
It’s not instant. Depending on how much you’re moving, this step can take anywhere from twenty minutes to closer to forty. Keep the Android phone plugged in if you can, since an interrupted transfer usually means starting that part over.
Method Comparison Table
| Method | Time Estimate | What You Need | Best For |
|---|---|---|---|
| Quick Start | 15 to 30 minutes plus restore time | Old iPhone nearby, charged, Bluetooth and Wi-Fi on | Most people upgrading from a recent iPhone |
| Manual Setup | 10 to 20 minutes | No old device needed, Apple Account required | Starting fresh or missing the old phone |
| Restore from iCloud | Depends on backup size | Apple Account, a recent backup, stable Wi-Fi | Anyone with a complete recent backup |
| Move to iOS | 20 to 40 minutes | Android device stays on and nearby | Switching over from Android |
These are ranges, not promises. Carrier load and backup size can stretch any of them longer than expected.
Step-by-Step: How to Activate a New iPhone
Step 1 Turn On the Device and Reach the Hello Screen
Press and hold the side button until the Apple logo shows up. That’s really all there is to this part. Once “Hello” appears cycling through different languages, swipe up or tap to move forward.
The setup assistant asks for language, region, and text size next. I always preview the larger text option for anyone who isn’t glued to their phone all day. It costs two seconds and saves squinting later.
Need accessibility features turned on right away? There’s a blue button sitting right on the Hello screen for VoiceOver and Zoom. Apple put it there so you wouldn’t have to dig through menus first, and most people never notice it exists.
Step 2 Connect to Wi-Fi or Cellular to Activate
This step is the actual mechanism behind everything. The iPhone has to reach Apple’s activation servers, and without a working connection, none of the rest matters. No carrier registration, no Apple Account link, nothing.
Pick your Wi-Fi network and enter the password if you’re going that route. On a stable connection, the activation handshake itself typically wraps up in two to three minutes. I’ve watched it happen almost instantly plenty of times too, but I never promise instant, because carrier load varies.
If you’re activating on cellular instead, confirm you actually have signal before you start. Weak coverage doesn’t just slow things down. It can cause failures that look like a broken phone when the real problem was one bar of signal in the wrong room.
Step 3 Insert SIM or Set Up eSIM
If your model still has a tray, insert the SIM using the tool that came in the box, or a straightened paperclip works fine in a pinch. Most current iPhones skip this step entirely and move straight into eSIM setup instead.
For eSIM, the phone either downloads a profile from your carrier automatically or walks you through scanning a QR code they provide. Either way, this usually happens during the same screen where you connect to a network, not as a separate detour.
Step 4 Sign In With Your Apple Account
Type in the email or phone number tied to your Apple Account, then your password. If two factor authentication is on, and it should be, you’ll get a code sent to a trusted device or number.
Forgot your password? There’s a recovery option built right into setup. You don’t need to abandon anything or start over. I’d still recommend having your login handy before you begin, just to skip the wait.
One thing worth saying clearly. Don’t keep retyping a wrong password hoping it’ll work eventually. That’s how accounts get temporarily locked, and that lockout takes far longer to clear than just pausing to look up the right one.
Step 5 Set Up Face ID, Touch ID & Passcode
Face ID is the default on every current model. Follow the prompts, move your head slowly in the circle pattern, and the scan finishes in seconds. That data stays on the device. It never touches iCloud and never leaves the phone, which is how Apple’s biometric setup has worked since it was introduced.
Older or budget models use Touch ID instead, reading a fingerprint rather than your face. Either way, you’ll set a backup passcode too. Six digits is the default, though four digits, a custom code, or even no passcode are all technically options.
I wouldn’t skip the passcode though. Even a basic one protects your data if Face ID has a bad reading, and you’ll need one anyway for Apple Pay and other security related features.
Step 6 Transfer Data, Apps & Settings (Quick Start / iCloud / Move to iOS)
Whatever path you picked earlier plays out here. Quick Start keeps transferring wirelessly. iCloud pulls from your most recent backup. Move to iOS runs through the app on your Android phone.
Not everything survives the move perfectly. Some app logins, certain settings, a few authentication tokens, these occasionally need to be redone manually. That’s normal, not a sign something broke. Check the App Store once setup finishes to confirm your main apps actually came across, and if something you expected isn’t there, my guide on how to recover deleted apps on iPhone walks through getting it back.
Small libraries transfer in fifteen minutes or so. Large photo collections can take a couple of hours. I always run big restores over Wi-Fi, both for speed and to avoid burning through cellular data without meaning to. If you’re restoring from a computer backup instead, my guide on connecting your phone to a laptop covers the cable and software side of that setup.
How to Finish Setting Up iPhone Transfer
If a transfer stalls partway through, don’t panic and don’t assume anything’s lost. Your iCloud backup stays fully intact no matter what happens on the new device. Restart the phone and let it try again, or finish the rest of setup first and pull the restore from Settings afterward. Either path gets you there.
How to Activate iPhone 17: What’s Different
How to Set Up New iPhone 17
The setup screens themselves haven’t changed much. What’s changed is what’s missing. There’s no SIM tray option to even look for on most iPhone 17 models sold in the US, so that whole step from older guides simply doesn’t apply anymore.
Everything else, Quick Start, Apple Account sign in, Face ID, runs the same as it always has.
eSIM-Only Regions and the iPhone 17 Air
I mentioned this earlier, but it’s worth repeating on its own here because so many people miss it. The iPhone 17, 17 Pro, and 17 Pro Max are eSIM only in the US, Canada, Japan, Mexico, and a handful of Gulf countries. Outside those regions, most versions still keep a physical SIM slot alongside eSIM.
The iPhone 17 Air breaks that pattern completely. It has no SIM tray anywhere in the world, full stop, regardless of where you bought it.
Setting Up New iPhone 17 From Old iPhone
Quick Start works the same way on the iPhone 17 as it did on the 16 or the 15. Hold the phones close, follow the prompt, let it pair. The only real difference shows up during the cellular step, where an eSIM only device skips the SIM tray screen entirely and moves straight into digital profile setup.
How to Activate Older Models (iPhone 15 and Earlier)
How to Activate iPhone 15
The iPhone 15 activates through the same core steps. Power on, connect to a network, sign in, set up Face ID, transfer your data. In the US it’s already eSIM only, same as the 14 before it. Outside the US, plenty of iPhone 15 units still ship with a SIM tray, so check yours before assuming either way.
Key Differences From Newer eSIM-Only Models
Honestly, there isn’t much daylight between activating a 15 and activating a 17. The screens look nearly identical. The real difference is regional. Older models sold outside the US were more likely to include a physical SIM tray than current 17 models are, since Apple has been steadily expanding the eSIM only policy region by region rather than switching everywhere at once.
Can I Activate My iPhone Using Another iPhone?
Yes, that’s exactly what Quick Start is built for. You hold your old iPhone near the new one, confirm the prompt that appears, and the two devices pair over Bluetooth before settings and data move across on Wi-Fi.
How Quick Start Pairing Actually Works
The new iPhone displays an animation on screen. You point your old iPhone’s camera at it, almost like scanning a code, and that confirms the pairing. From there you’ll authenticate with your Apple ID and choose what to bring over. It genuinely feels like the phone knows what to do before you do, which is part of why it’s become the default recommendation for most upgrades.
What Happens If the Old Device Isn’t Nearby or Charged
Nothing dramatic. You just tap “Set Up Without Another Device” and land in manual setup instead. I actually recommend this route on purpose sometimes, especially for anyone who wants a clean phone without years of accumulated clutter carried over from the old one.
How to Confirm Your iPhone Is Fully Activated (Checklist)
Nobody hands you a clear “you’re done” screen at the end of this process. Apple doesn’t show one, and your carrier assumes you’ll just notice the status bar changing on its own. I don’t think that’s good enough, so here’s exactly what I check every single time.
Checking the Status Bar and Carrier Signal
Look at the top of the screen. “No Service” or “SOS” means cellular activation hasn’t finished registering yet. Give it the full two to three minutes before assuming something’s wrong, especially on Verizon, where that delay is pretty typical. Once your carrier’s name shows up where those messages were, cellular service is genuinely live.
Confirming Apple Account Sign-In
Open Settings and check the very top of the screen. Your name and Apple Account should be sitting right there. If you’re seeing a sign in prompt instead, activation hasn’t fully linked to your account yet, and it’s worth going back to fix that before doing anything else.
Verifying Face ID/Touch ID and Data Transfer
Try unlocking the phone once. If the biometric prompt responds, security setup went through correctly. Then glance at your home screen. Missing apps usually just mean the transfer is still running in the background, or you chose manual setup and skipped restoration on purpose. Neither one is automatically a problem.
Carrier-Specific Activation Notes
Verizon iPhone Activation Steps
Verizon’s process runs through the same on-device setup as everyone else, but I’ve noticed their status bar transition specifically takes a few minutes rather than happening instantly. Give it that window before assuming activation failed.
T-Mobile eSIM Activation
T-Mobile’s eSIM setup goes through Quick Start or manual entry, and in my experience it tends to complete with fewer extra prompts along the way compared to some other carriers. Not a huge difference, but noticeable if you’re setting up multiple phones back to back.
AT&T and Spectrum Activation Differences
AT&T sometimes routes bring your own device activations through a separate page before the on-device flow even starts, particularly if the phone wasn’t purchased directly from them. Spectrum Mobile leans on an activation dashboard for eSIM rather than a fully automated in-setup process, which makes it feel a bit more manual than Apple’s native flow.
Why Can’t I Activate My New iPhone? (Troubleshooting)
Most activation failures have nothing to do with the phone being broken. They’re connection problems, timing problems, or a profile that hasn’t caught up yet.
“Could Not Activate iPhone” Error
Check your network connection first. That’s the cause behind the vast majority of these errors, whether it’s a weak Wi-Fi signal or no cellular coverage at all. Restart the device and try a different network if the first one seems shaky. If a stable connection still doesn’t fix it, Apple’s servers may just be under heavy load, and that usually clears up within an hour on its own.
Stuck on “No Service” or “SOS”
This means the cellular profile hasn’t registered yet, not that the phone is defective. For eSIM, check under Settings, then Cellular, to confirm the profile actually downloaded. For a physical SIM, remove it and reseat it carefully. A slightly misaligned card causes exactly this kind of intermittent failure more often than people expect.
Apple ID Verification Failing
Stop retyping the same password over and over. Use the recovery option built into setup instead, or handle it from another device through Apple’s account recovery page. Getting locked out of your Apple Account creates a much bigger delay than the original activation hiccup ever would.
Data Transfer Interrupted Mid-Setup
Nothing is lost when a transfer interrupts partway through. Your iCloud backup sits untouched regardless of what happens on the phone itself. Restart and try again, or finish the rest of setup and pull the restore later from Settings when you’re ready.
Post-Activation Settings Worth Configuring
Automatic Updates, Find My iPhone & Screen Time
A few small settings save real trouble down the line, and I always handle these right after activation while I’m already in the Settings app.
Turn on automatic updates under Settings, then General, then Software Update. This keeps security patches current without you having to remember to check manually every few weeks.
Enable Find My iPhone if setup didn’t already turn it on. It’s under Settings, your name, then Find My. Losing a phone without this active makes recovery genuinely difficult, sometimes impossible.
Screen Time is worth switching on even without setting any limits right away. It just starts collecting your usage patterns, which is useful information to have later even if you never touch a single restriction.
None of these take more than a few minutes combined. But skipping them is exactly the kind of small decision that turns into a much bigger problem months down the road.
Frequently Asked Questions
How can I activate my new iPhone without an Apple ID?
You can get through the basic setup screens without one, but full activation needs an Apple Account attached. Setup lets you create one on the spot if you don’t already have it.
Can I activate my new iPhone myself?
Yes, and most people do it without any help at all. Just turn it on, connect to a network, and follow the prompts through Apple Account sign in.
Why can’t I activate my new iPhone?
Nine times out of ten it’s a weak or missing network connection, not a broken phone. Restart the device on a different Wi-Fi network before assuming anything worse is going on.
How do I activate my new iPhone 17?
The process runs the same as any recent iPhone, minus the SIM tray step since most 17 models are eSIM only. Connect to a network, sign in, and let the eSIM profile download during setup.
Can I activate my iPhone using another iPhone?
Yes, that’s exactly what Quick Start does. Hold the old iPhone near the new one, follow the on-screen prompt, and they pair automatically.
Final Thoughts
Activation itself takes minutes. It’s everything wrapped around it, choosing the right setup path, knowing which SIM situation you’re dealing with, confirming things actually worked, that eats up people’s time.
I’ve walked through this process more times than I can count, across carriers, models, and countries. And the phones that give people trouble almost never have anything wrong with them. It’s usually just a weak Wi-Fi signal, an old device left uncharged in a drawer, or someone assuming the status bar updates instantly when it actually needs a couple of minutes.
So here’s what I’d tell anyone setting up a new iPhone today. Check your prerequisites before you press the power button, not after. Pick Quick Start, manual setup, or a restore based on what you actually have available, not what sounds fastest. And run through that confirmation checklist once you’re done, instead of just hoping everything came through.
That last step is the one most guides skip entirely. It’s also the one that saves you from a support call three days later when you notice an app missing and can’t remember whether it ever transferred in the first place.




1 comment